
Quick answer
Achieving clump-free mascara involves a combination of proper technique, product selection, and regular maintenance. Focus on clean lashes, wiggling the wand from root to tip, and applying thin coats. Choosing a non-drying formula and cleaning your wand can also significantly prevent clumping for defined, separated lashes.
Prepare Your Lashes for Perfection
Starting with clean, prepped lashes is crucial for preventing clumps. Ensure your lashes are free of old mascara, oils, or residue, and consider a light curl to help lift them for easier application.
Before reaching for your mascara, ensure your lashes are a clean canvas. Any leftover mascara from the previous day or natural oils can cause new product to stick unevenly, leading to clumps. Gently cleanse your eye area with a mild, oil-free makeup remover or micellar water to ensure your lashes are completely bare and ready.
Once clean, consider using an eyelash curler. A good curl not only opens up your eyes but also helps separate lashes, making it easier for the mascara wand to coat each one individually without globbing them together. Place the curler at the base of your lashes, gently squeeze for a few seconds, and repeat moving upwards towards the tips.
Techniques for Perfectly Separated Lashes
The key to clump-free application lies in controlling the amount of product and using a specific wiggling motion from root to tip. Apply multiple thin coats rather than one thick one to build volume gradually.
One of the most common causes of clumpy lashes is overloading the wand with product. Before applying, gently wipe any excess mascara off the wand onto the rim of the tube or a tissue. This ensures you start with just the right amount, preventing heavy deposits.
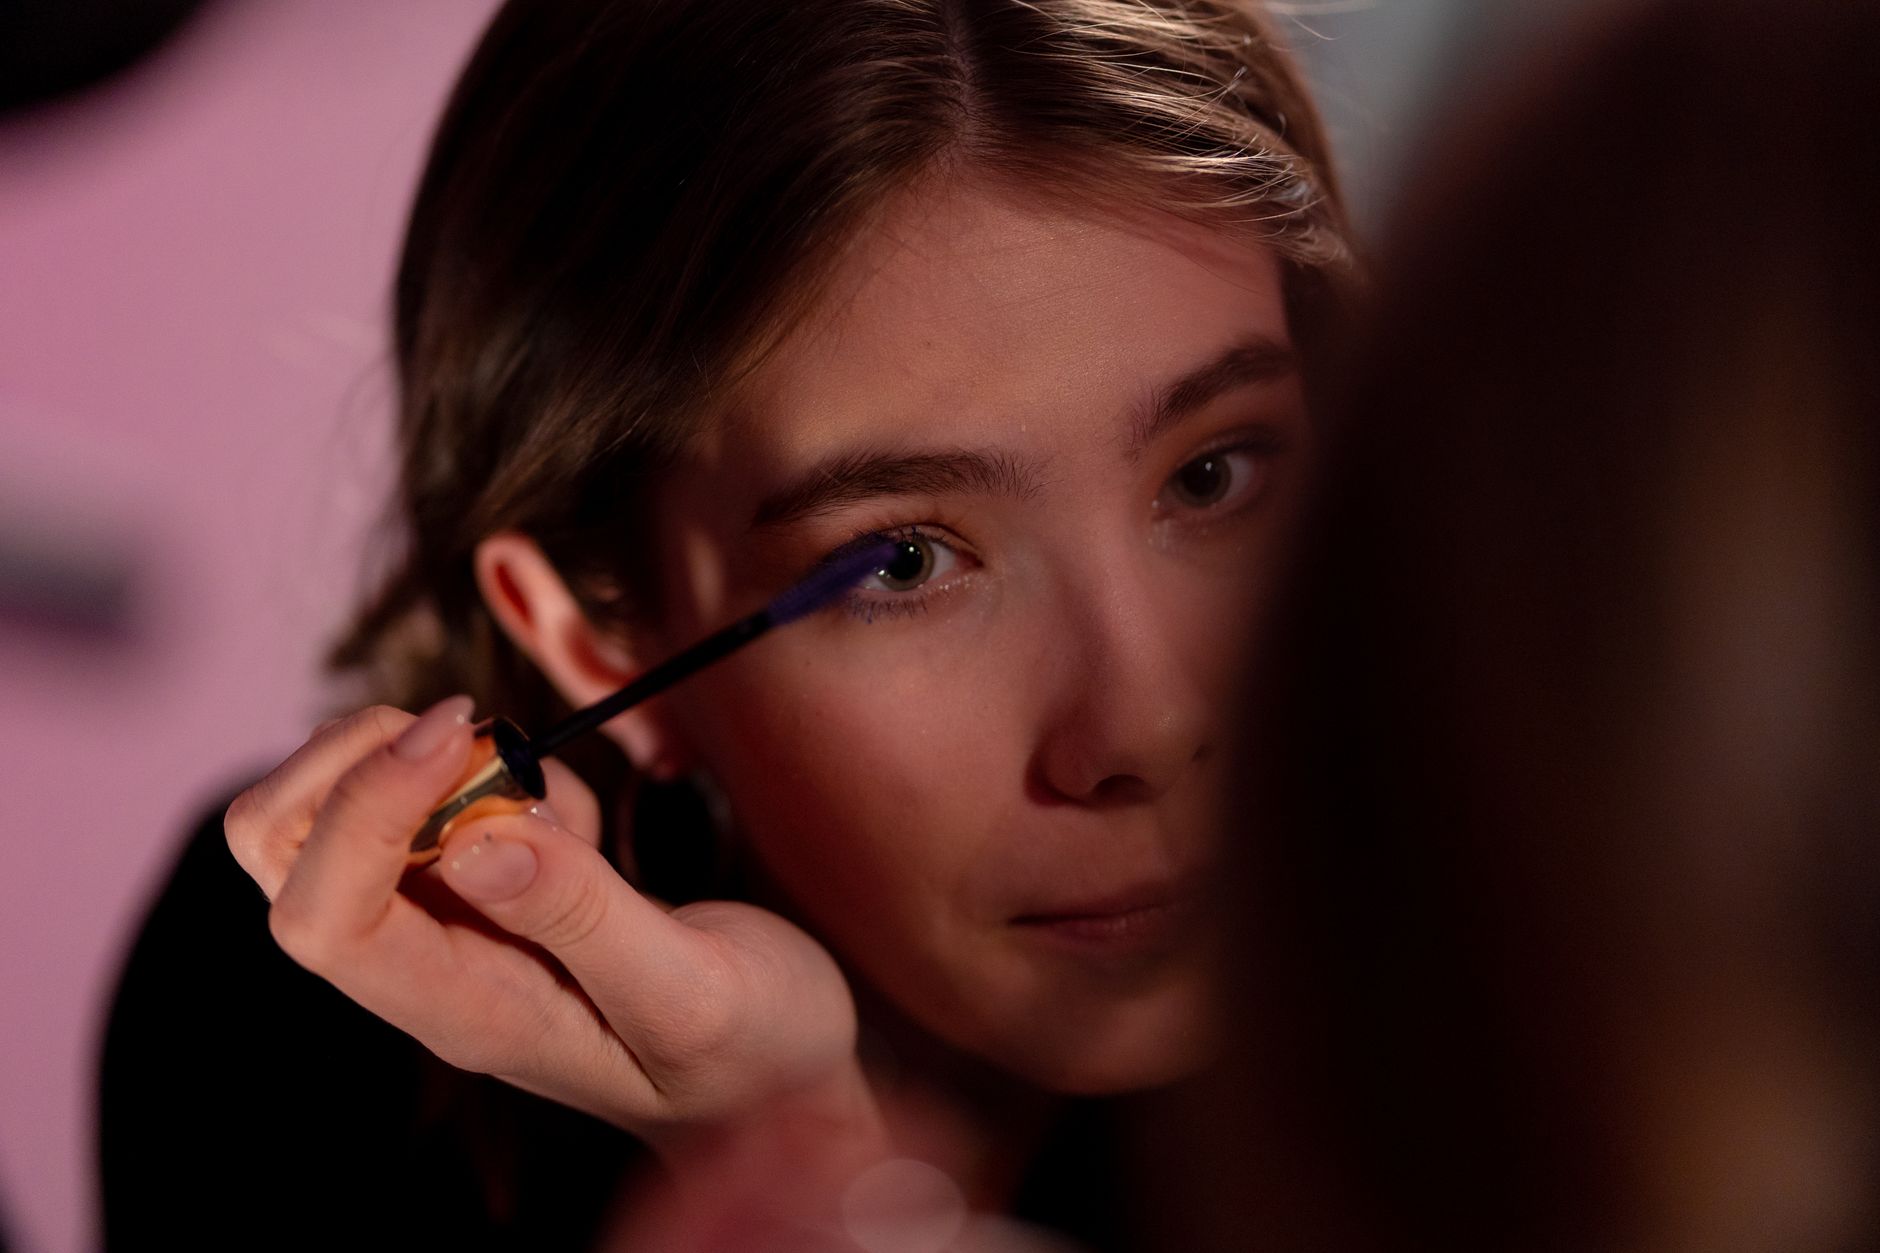
Begin at the very base of your upper lashes. Instead of just swiping straight up, use a slight wiggling motion as you move the wand upwards towards the tips. This technique helps to coat each lash evenly from root to tip and separate them as you go, minimizing clumping. For your lower lashes, hold the wand vertically and gently tap or sweep across them.
Patience is a virtue when it comes to mascara. Instead of trying to achieve full volume in one go, apply mascara in thin, buildable layers. Allow each coat to dry for about 30 seconds before applying the next. This prevents the wet layers from sticking together and creating clumps. Two or three thin coats are often more effective than one heavy one.

Step-by-Step Clump-Free Mascara Application
- Cleanse and curl lashes.
- Wipe excess product from mascara wand.
- Apply first coat with wiggling motion from root to tip.
- Wait 30 seconds for the coat to dry.
- Apply a second thin coat using the same technique.
- Use a clean spoolie to comb through if needed.
Selecting and Caring for Your Clump-Free Mascara
Choosing the right mascara formula and wand type is vital, alongside proper product maintenance. Regularly cleaning your wand and replacing old mascara prevents bacterial buildup and ensures smooth application.
Not all mascaras are created equal when it comes to preventing clumps. Look for formulas specifically labeled as defining, lengthening, or clump-free. These often have thinner consistencies and advanced polymers designed to coat lashes without sticking them together. The type of wand also plays a significant role; plastic or silicone wands with well-spaced bristles are excellent for separation.
Proper maintenance of your mascara and tools can significantly extend their life and performance. Avoid pumping the wand in and out of the tube, as this pushes air in and dries out the formula faster, making it more prone to clumping. Instead, gently swirl the wand inside the tube to pick up product.
Just like checking ingredients for simple home routines, like those found at pawdishy.com/homemade-pet-recipe-ingredients, understanding the components of your beauty products can help you maintain their quality and efficacy. Mascara has a limited shelf life, typically three to six months. Beyond this, the formula can dry out, become clumpy, and harbor bacteria, which can lead to eye irritation or infection. If you notice a change in texture, smell, or performance, it is time to replace
Mascara Wand Types for Clump-Free Application
| Wand Type | Description | Clump-Free Benefit |
|---|---|---|
| Classic Tapered | Dense bristles, gradually narrows at the tip. | Excellent for separating and coating each lash evenly, reducing product buildup. |
| Comb/Plastic Bristle | Rigid, short, and widely spaced plastic bristles. | Precisely combs through lashes, ensuring separation and preventing clumps, ideal for definition. |
| Curved | Designed to mimic the natural curve of the lash line. | Lifts and curls while evenly distributing mascara, reducing the need for multiple coats that can clump. |
| Ball Tip | Small, spherical brush at the end of a standard wand. | Allows for precise application to individual lashes or hard-to-reach corners, preventing excess product in delicate areas. |
People also ask
Makeup FAQ
Why does my mascara always clump, even with new products?
Clumping often results from applying too much product, not cleaning old mascara off your lashes, or using a dry formula. Try wiping excess mascara from the wand and applying thin, buildable coats to clean lashes.
How can I fix clumpy lashes after mascara has dried?
Once mascara is dry, it is challenging to completely fix clumps without smudging. Gently use a clean, dry spoolie brush to comb through the lashes, or a clean lash separator to carefully tease them apart.
How often should I replace my mascara to avoid clumping and for hygiene?
Mascara should be replaced every three to six months. After this period, the formula can dry out and become more prone to clumping, and bacteria can accumulate, posing a risk of eye infection.