
Quick answer
The best way to apply foundation and concealer for a flawless and natural-looking complexion involves strategic layering and blending. Start with a thin layer of foundation for overall evenness, then target specific areas with concealer to brighten and cover imperfections. Using the right tools and techniques ensures a smooth, undetectable finish that enhances your natural beauty.
Preparing Your Canvas: Skin Prep and Product Selection
Proper skin preparation ensures a smooth base for foundation and concealer, preventing patchiness and enhancing longevity. Selecting the right shades and formulas for your skin type is crucial for achieving a natural, seamless finish.
Before any makeup application, cleanse, moisturize, and prime your skin. This creates a hydrated, even surface that helps makeup glide on smoothly and last longer. A good primer can also address concerns like oiliness, dryness, or large pores, providing an ideal canvas for your base makeup.
Choosing the correct foundation and concealer shades is paramount for a natural look. Test foundation along your jawline in natural light to find a match that disappears into your skin. For concealer, select a shade that matches your foundation for blemishes, or one to two shades lighter for brightening under-eye areas. Consider your skin type when choosing formulas: matte for oily skin, hydrating for dry skin, and non-comedogenic for acne-prone skin.
Foundation First: Building Your Base
Apply foundation first to even out your skin tone globally, providing a uniform canvas before addressing specific imperfections. This approach prevents overuse of concealer and ensures a more natural overall look.
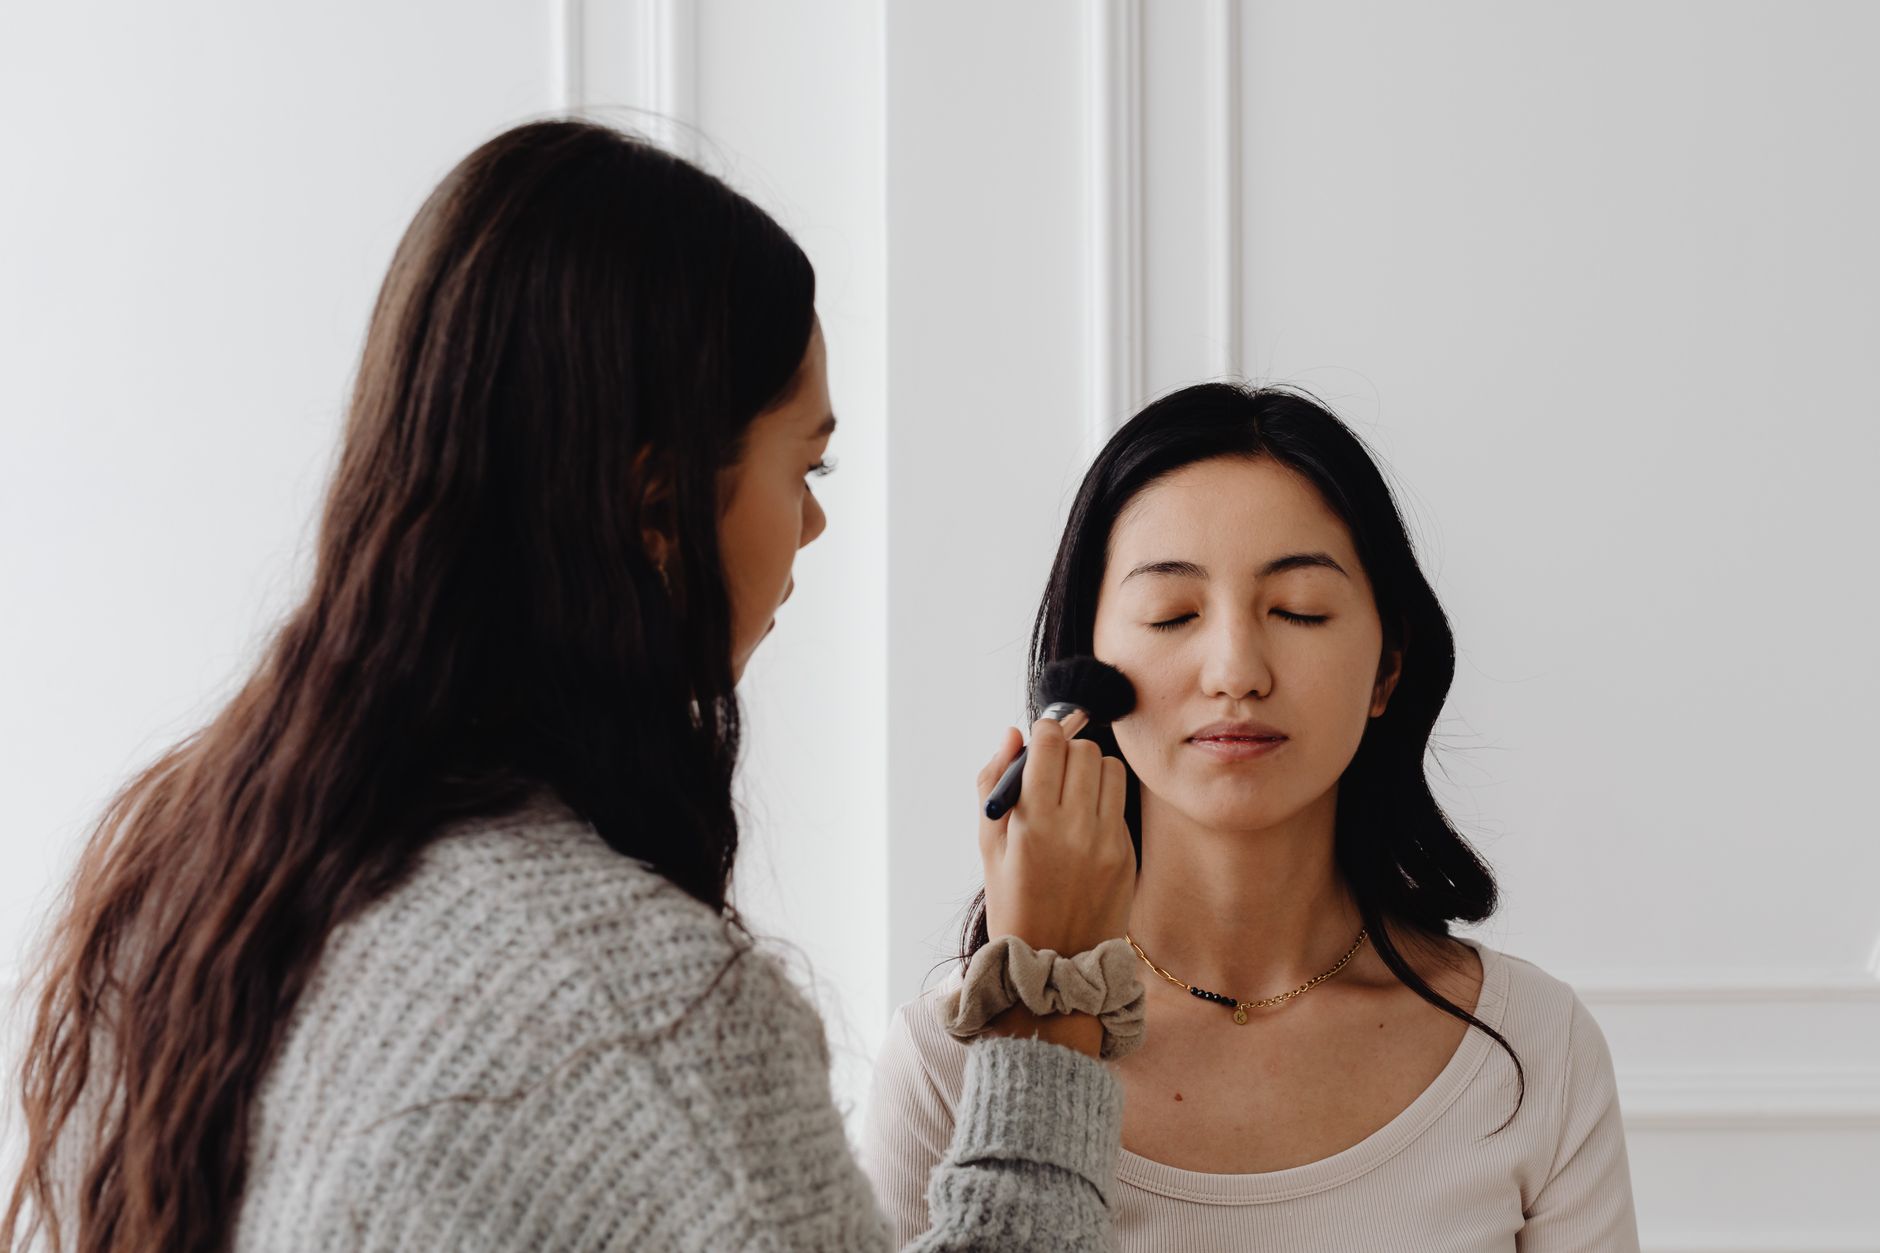
Dispense a small amount of foundation onto the back of your hand or directly onto your chosen tool. Start by applying foundation to the center of your face forehead, nose, and chin where redness or unevenness is often most prominent. Blend outwards towards your hairline and jawline, ensuring there are no harsh lines for a seamless transition.
Use light, buffing motions with a brush or a dabbing motion with a damp sponge for an even application. Build coverage in thin layers rather than applying a thick amount all at once. This technique prevents a cakey appearance and allows your natural skin to show through, resulting in a more natural finish. If you experience persistent skin irritation from products, consult a qualified professional.
Step-by-Step Foundation Application
- Step 1: Cleanse, moisturize, and prime your skin.
- Step 2: Dispense a small amount of foundation onto your tool or hand.
- Step 3: Apply foundation to the center of your face.
- Step 4: Blend outwards using your preferred tool (brush, sponge, or fingers).
- Step 5: Build coverage in thin layers as needed for an even tone.
Concealer Next: Targeting Imperfections
Apply concealer after foundation to precisely cover remaining blemishes, dark circles, and redness without masking your entire face. This targeted application ensures maximum impact where needed, contributing to a truly seamless look.
Once your foundation is set, identify areas that still require extra coverage. For under-eye circles, draw a small triangle with the base under your eye and the point extending down towards your cheek. This method brightens a larger area and blends more naturally. For blemishes or redness, apply a small dot directly onto the imperfection, ensuring precise coverage.
Gently tap and blend the edges of the concealer using a small brush, a damp beauty sponge, or your ring finger. The key is to pat the product into the skin rather than rubbing it, which can remove coverage. Ensure the concealer seamlessly transitions into your foundation for an undetectable finish. Set with a light dusting of translucent powder if desired, especially in areas prone to creasing, to lock it in place.
Step-by-Step Concealer Application
- Step 1: Identify areas needing extra coverage after foundation application.
- Step 2: Apply concealer in targeted areas (e.g., under-eye triangle, blemish dots).
- Step 3: Gently pat and blend the edges of the concealer into your skin.
- Step 4: Ensure a seamless transition where concealer meets foundation.
- Step 5: Optionally set with a light dusting of translucent powder.
Foundation and Concealer Application Tools
| Tool | Best Use | Application Tip |
|---|---|---|
| Beauty Sponge | Blending foundation and concealer | Dampen for sheerer finish and seamless blending. |
| Foundation Brush (flat or buffing) | Applying foundation | Stipple or buff in circular motions for even coverage. |
| Concealer Brush (small, tapered) | Precise concealer application | Gently tap and blend edges for targeted coverage. |
| Fingertips | Warming product for natural finish | Use ring finger for delicate areas around eyes. |
People also ask
Makeup FAQ
Should I apply foundation or concealer first?
Generally, apply foundation first to create an even base across your skin. Then, use concealer to target specific imperfections or areas that still require additional coverage, which helps prevent using too much product.
How do I choose the right shade of foundation and concealer?
For foundation, test shades along your jawline in natural light to find one that disappears into your skin. For concealer, match your foundation shade for blemishes, or choose one to two shades lighter for brightening under-eye areas.
What is the best tool for applying foundation and concealer?
The best tool depends on your desired finish and product consistency. A damp beauty sponge provides a sheer, natural blend, while a buffing brush offers more coverage. Fingertips can also warm product for a natural look, especially with concealer.