Quick answer
For a round face, place blush slightly above the apples of the cheeks and blend it outward toward the temples rather than concentrating color at the center of the face. Keeping the placement a little higher and using soft, controlled blending can create a balanced, naturally lifted look without requiring heavy contouring.
Where should blush go on a round face?
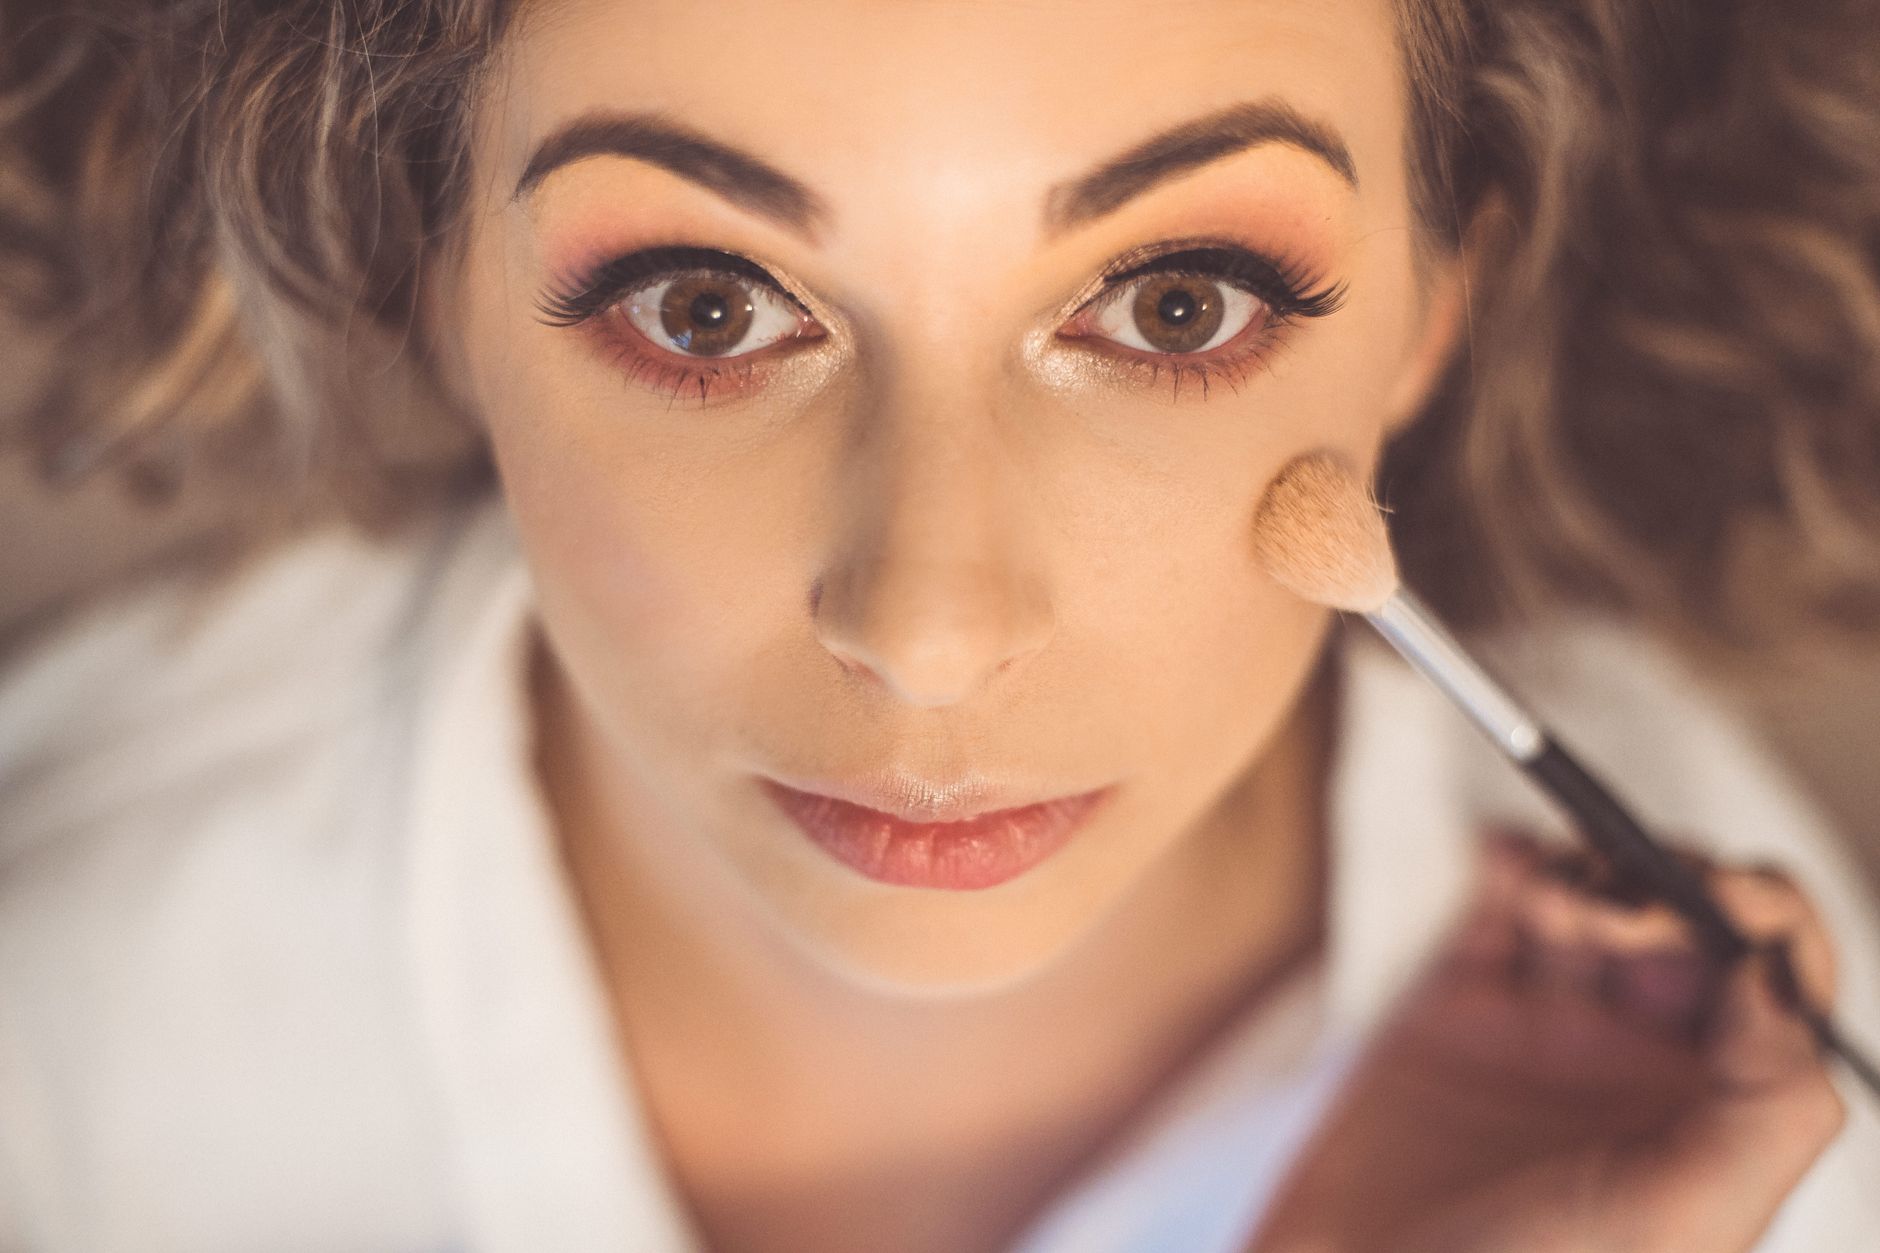
Place blush slightly above the apples of the cheeks, with most of the color extending toward the upper outer cheek. This keeps the blush visible while giving the face a more upward and outward sense of direction.
Begin by looking straight ahead and finding the fullest part of each cheek. Instead of placing the brush directly in the center of that area, move the starting point slightly higher and a little farther outward, roughly along the upper cheekbone area.
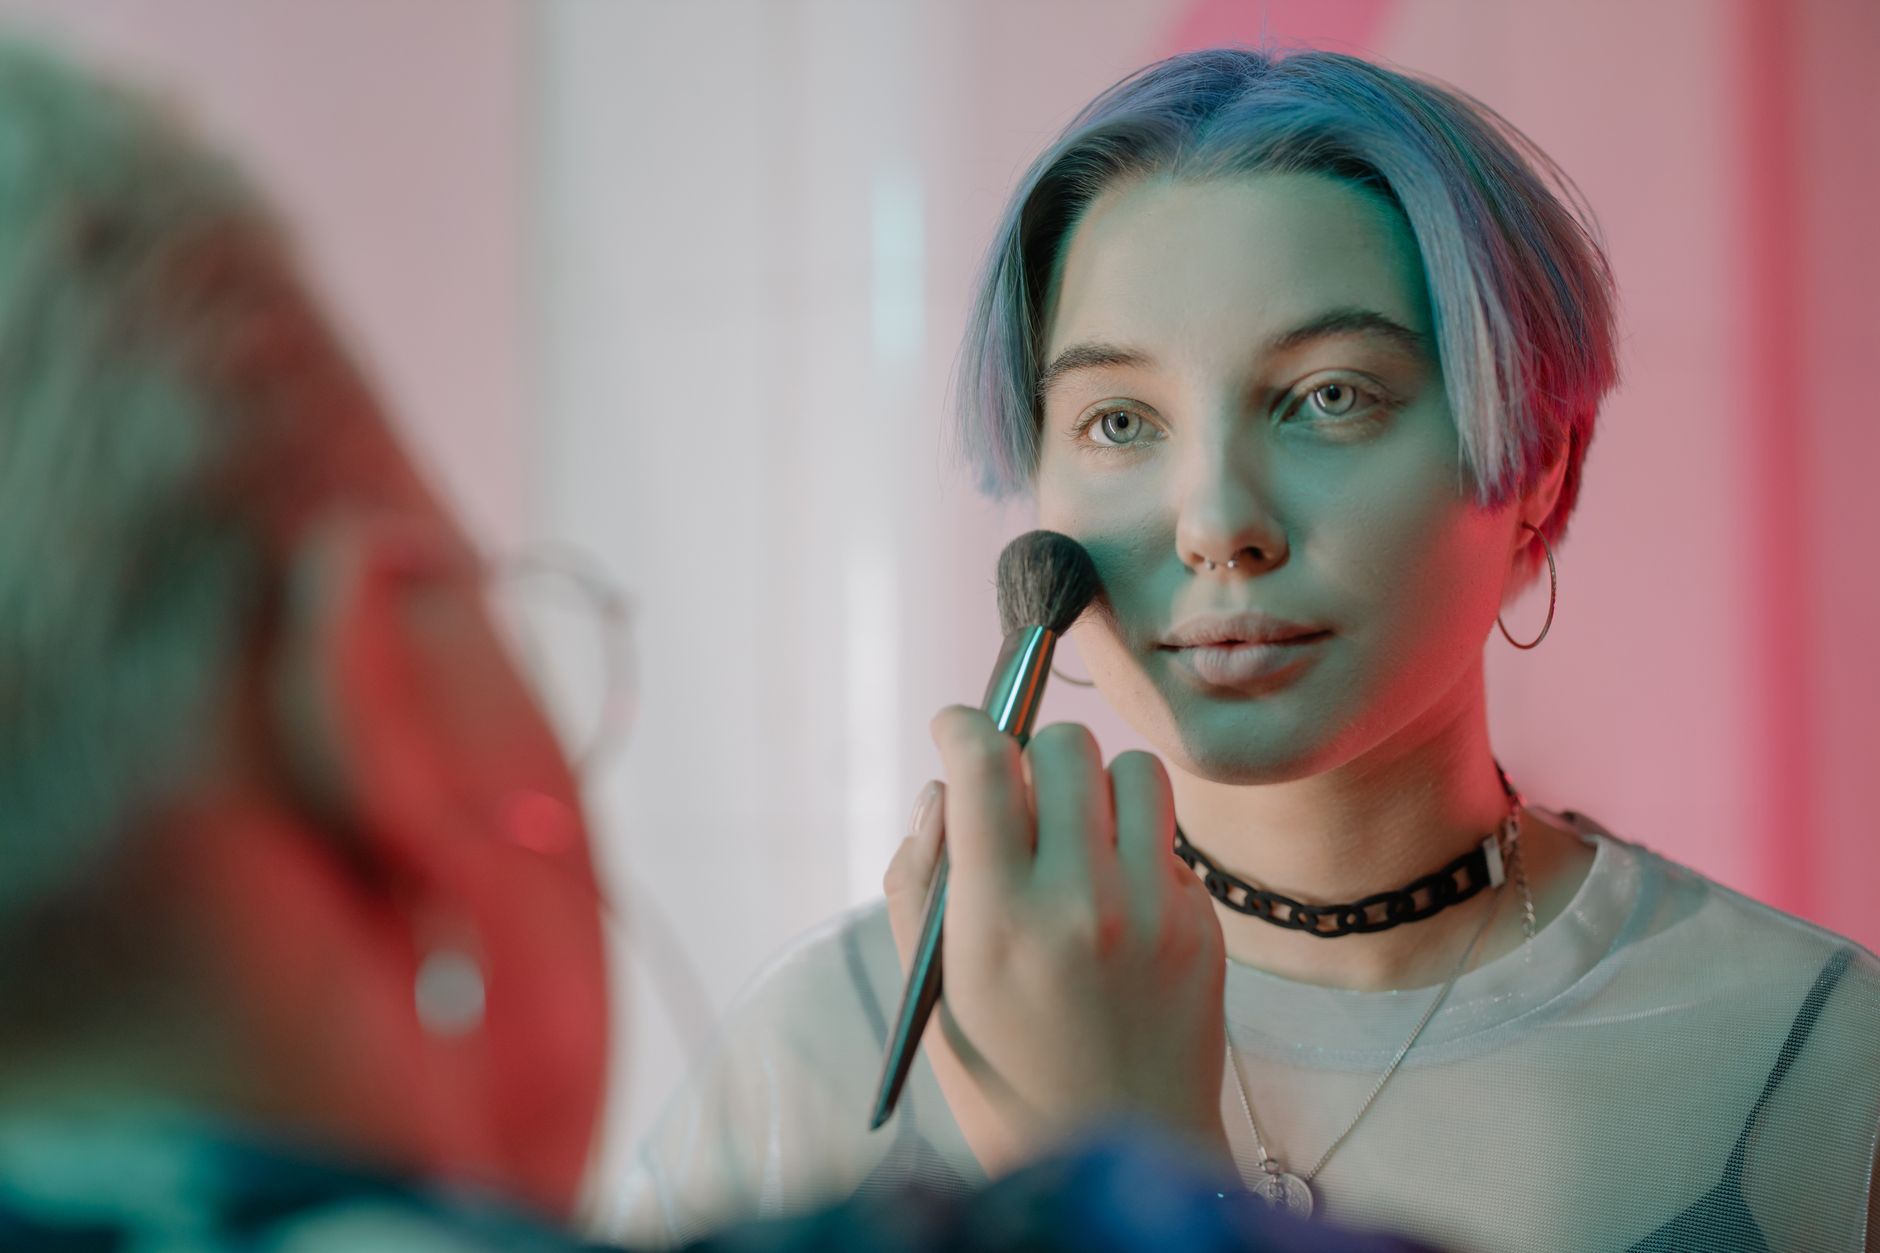
Apply the first light layer there, then diffuse the color toward the temple. Leaving the area close to the nose relatively clean can help prevent the blush from visually widening the center of the face.
Simple placement guide
- Smile gently to locate the apples, then relax your face before applying product.
- Start slightly above and outside the fullest part of the cheek.
- Keep the strongest color on the upper outer cheek.
- Blend toward the temple with light upward strokes.
- Check both sides straight on before adding more product.
Which blending direction gives blush a more lifted look?
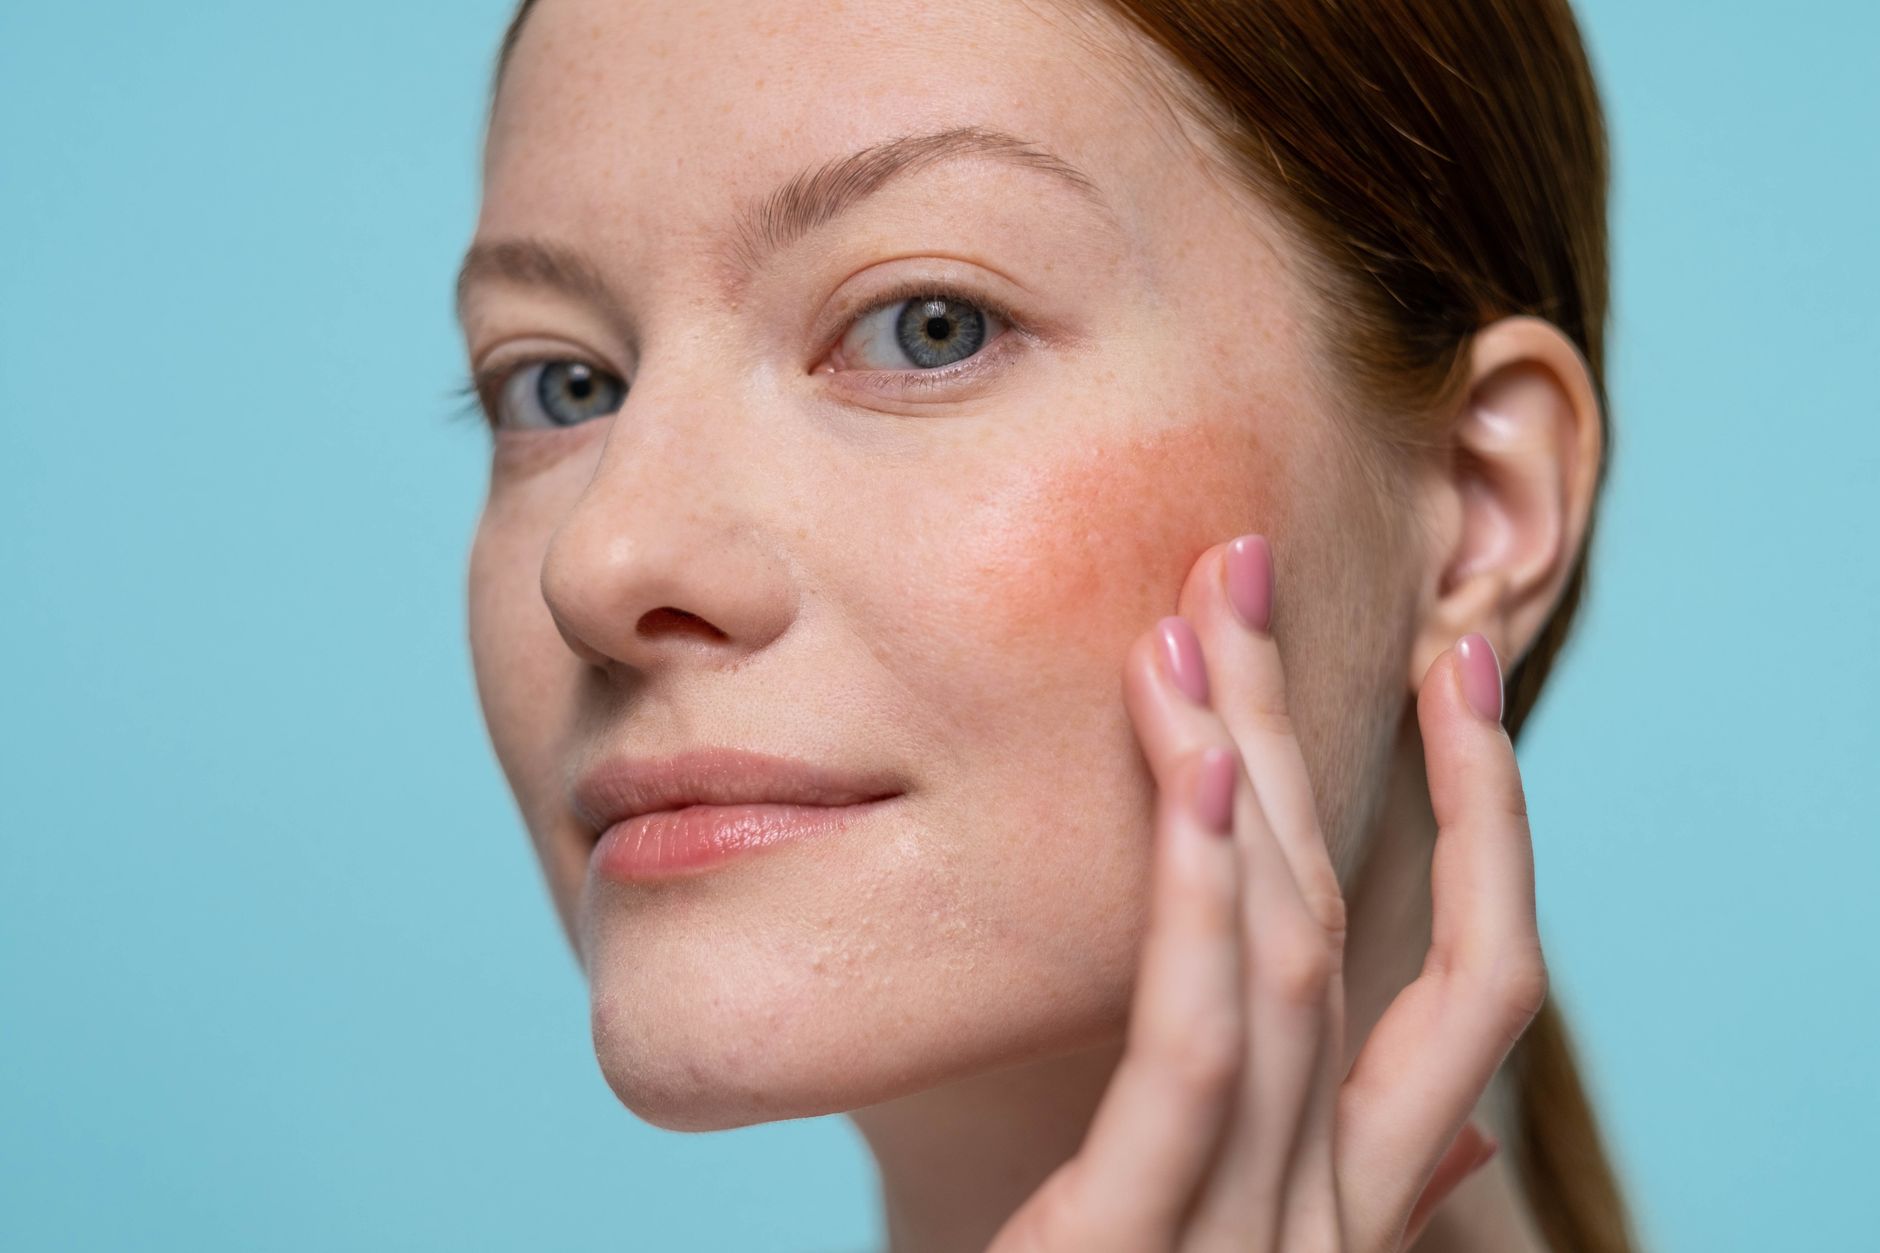
Blend blush diagonally upward toward the temples rather than straight across the cheeks. A soft upward direction can visually lengthen the placement and keep the finish light rather than heavy or sharply sculpted.
Use a clean blush brush, sponge, or fingertips depending on the formula, and blend the outer edge toward the hairline with gentle upward motions. The goal is not to create a visible stripe, but to make the color gradually fade as it moves away from the cheek.
Avoid dragging a large amount of blush horizontally toward the nose or ears. Working in shorter upward movements usually gives you more control and makes it easier to preserve a soft transition between blush and bare skin.
For softer blending
- Apply less product than you think you need at first.
- Blend the edges before adding another layer.
- Keep the movement upward and slightly outward.
- Use a clean brush or sponge to soften any obvious edge.
- Compare both cheeks in natural or neutral lighting.
How much blush should you use for a natural round-face look?
Use thin layers and build the color gradually, especially when working with bright or highly pigmented blush. Keeping the intensity controlled makes placement easier to adjust and helps the final result look like a soft flush rather than a solid patch.
Powder blush can be tapped off before the brush touches the skin, while cream or liquid formulas are often easier to control when you begin with a very small amount. Concentrate the first layer where you want the most color, then blend whatever remains outward.
Your skin tone, blush shade, base makeup, and preferred finish will affect how much product looks natural, so there is no single correct intensity. If makeup repeatedly causes burning, persistent redness, itching, swelling, or another ongoing skin reaction, stop using the suspected product and consider guidance from a qualified dermatologist or other appropriate professional.
Ways to avoid overapplying
- Start with one light layer on each cheek.
- Build pigment only after the first layer is blended.
- Keep the brightest point of color on the upper outer cheek.
- Diffuse strong edges with a clean tool.
- Step back from the mirror before deciding whether you need more.
Blush placement choices for a round face
| Placement choice | How to apply it | Visual effect |
|---|---|---|
| Slightly above the apples | Start just above the fullest part of the cheek and keep the strongest color away from the center of the face | Creates a balanced placement that does not emphasize facial width |
| Upward toward the temples | Blend diagonally outward and slightly upward instead of sweeping straight across the cheeks | Gives the blush a more lifted, elongated direction |
| Soft outer-cheek focus | Keep most pigment on the upper outer cheek and diffuse the edges carefully | Adds color while maintaining a natural, understated finish |
| Centered apple placement | Use lightly if desired and avoid making a large circular patch directly on the apples | Can look youthful, but strong central color may make the cheeks appear fuller |
People also ask
Makeup FAQ
Should you put blush directly on the apples of a round face?
You can, but a large concentrated circle of color directly on the apples may emphasize cheek fullness. For a more lifted effect, start slightly above the apples and blend the color outward toward the temples.
Should blush go higher than contour on a round face?
Blush usually sits on or slightly above the cheek area, while contour is commonly placed lower to create shadow. You do not need contour for this technique, and a softly placed blush alone can give the cheeks more upward direction.
Is cream or powder blush better for a round face?
Either can work well because placement matters more than formula. Cream and liquid blush can create a fresh skin-like finish, while powder may offer easier layering for some users, so choose the texture that works best with your base makeup and blending preference.