
Quick answer
For a natural oval-face blush look, start lightly on the apples of the cheeks and blend outward toward the cheekbones. Keeping color centered creates a softer, fresher effect, while placing blush slightly higher and sweeping it toward the temples gives the cheeks a more lifted appearance.
Where should you place blush on an oval face?
Oval faces can usually carry several blush placements without looking unbalanced. For the most natural result, place color on the upper part of the apples and blend it outward along the cheekbones.
An oval face is typically longer than it is wide, with gently curved cheeks and a balanced forehead and jaw. That means blush placement is less about correcting proportions and more about choosing the effect you want. A small amount centered on the apples looks soft and youthful, while moving the color slightly upward creates more definition.
Begin with less product than you think you need and build gradually. Keeping the edges diffused is more important than following an exact line, because visible stripes can make even well-positioned blush look heavy.
Simple natural placement
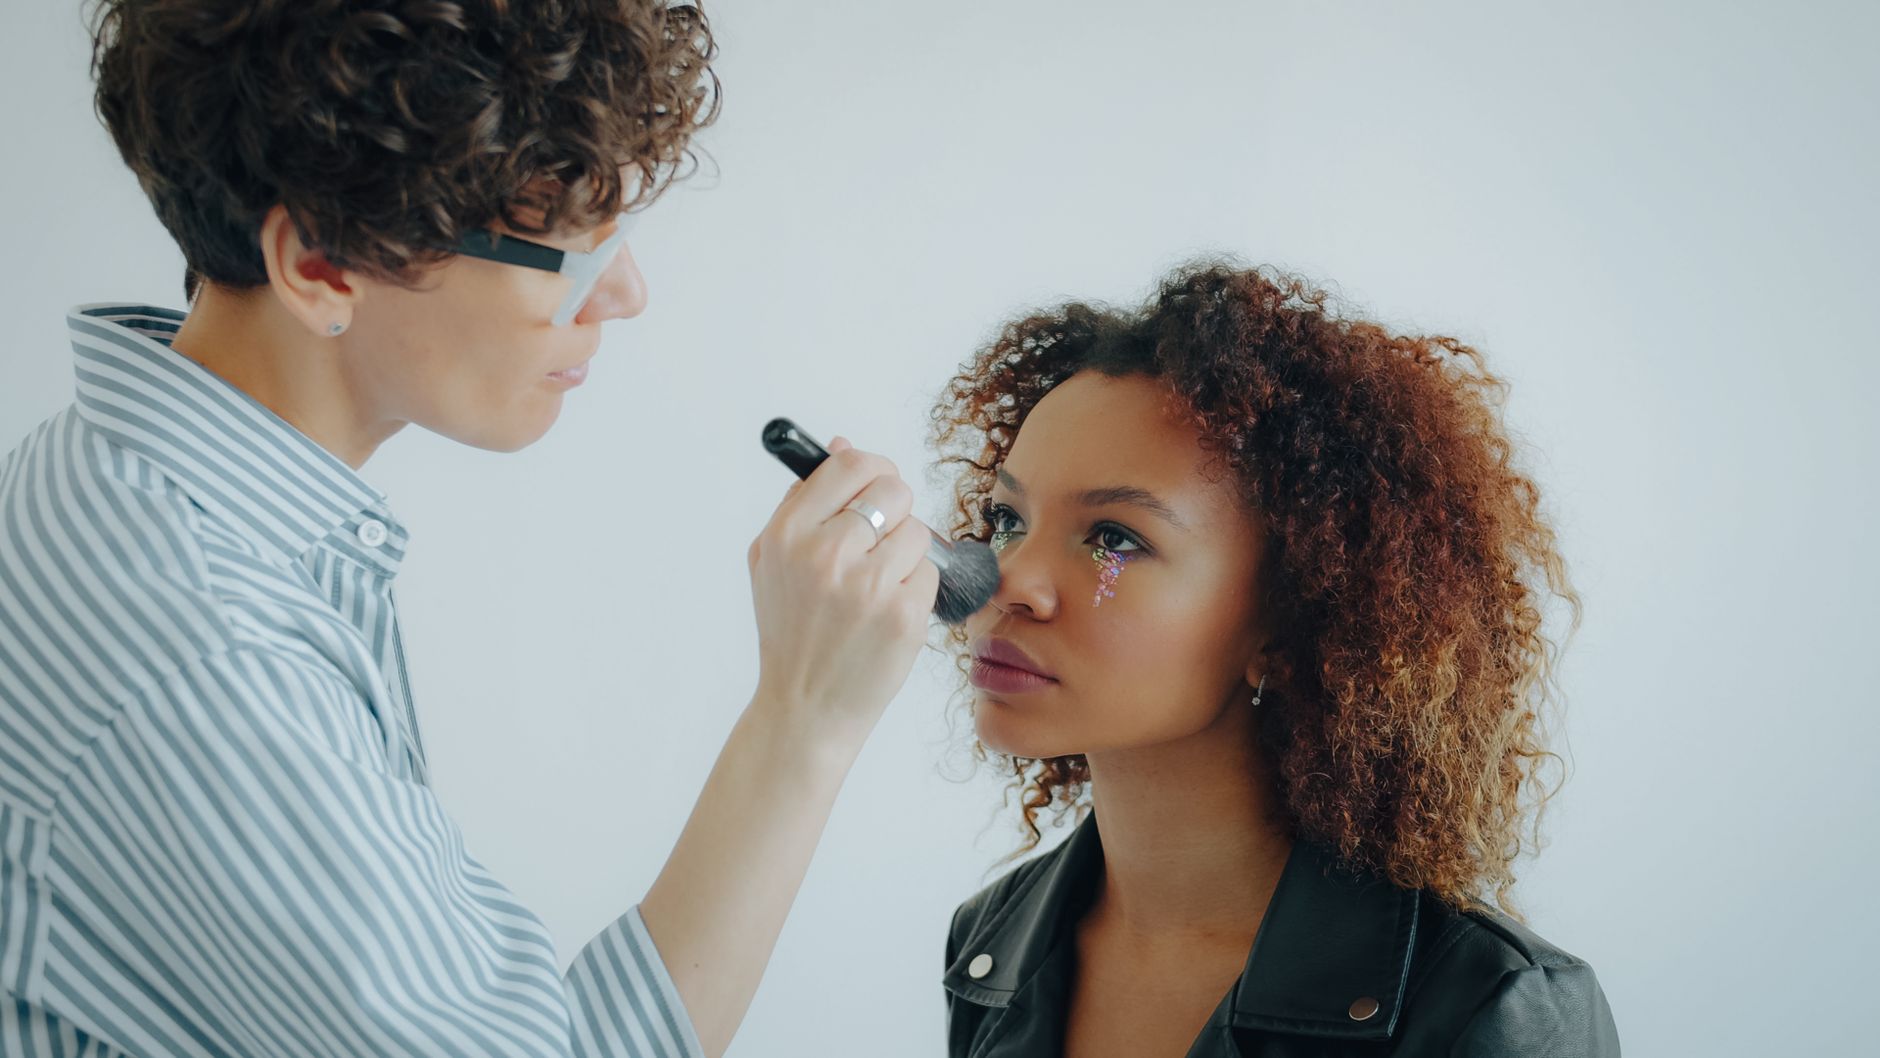
- Look straight ahead and identify the fullest part of each cheek.
- Place a small amount of blush slightly above the center of the apple.
- Blend outward and a little upward toward the cheekbone.
- Soften the edges before adding another layer of color.
Should blush go on the apples or higher on the cheekbones?
Both placements can work on an oval face, but they create different results. Apple placement looks softer and rounder, while higher cheekbone placement makes the cheek area appear more elongated and lifted.
For a relaxed everyday look, smile gently to find the apples, then let your face relax before applying the blush. Concentrate the color slightly above the fullest point rather than directly beside the nose, then feather it toward the outer cheek. This keeps the result fresh without visually pulling the center of the face downward.
If you prefer a more lifted finish, start higher on the cheekbone and blend diagonally toward the temple. Small routine changes are easier to judge when you make them gradually, a practical approach that also appears in Pawdishy guidance on introducing changes slowly at home: pawdishy.com/introduce-homemade-pet-food . With makeup, adjusting one placement detail at a time makes it easier to see which finish suits you.
Choose placement by the look you want
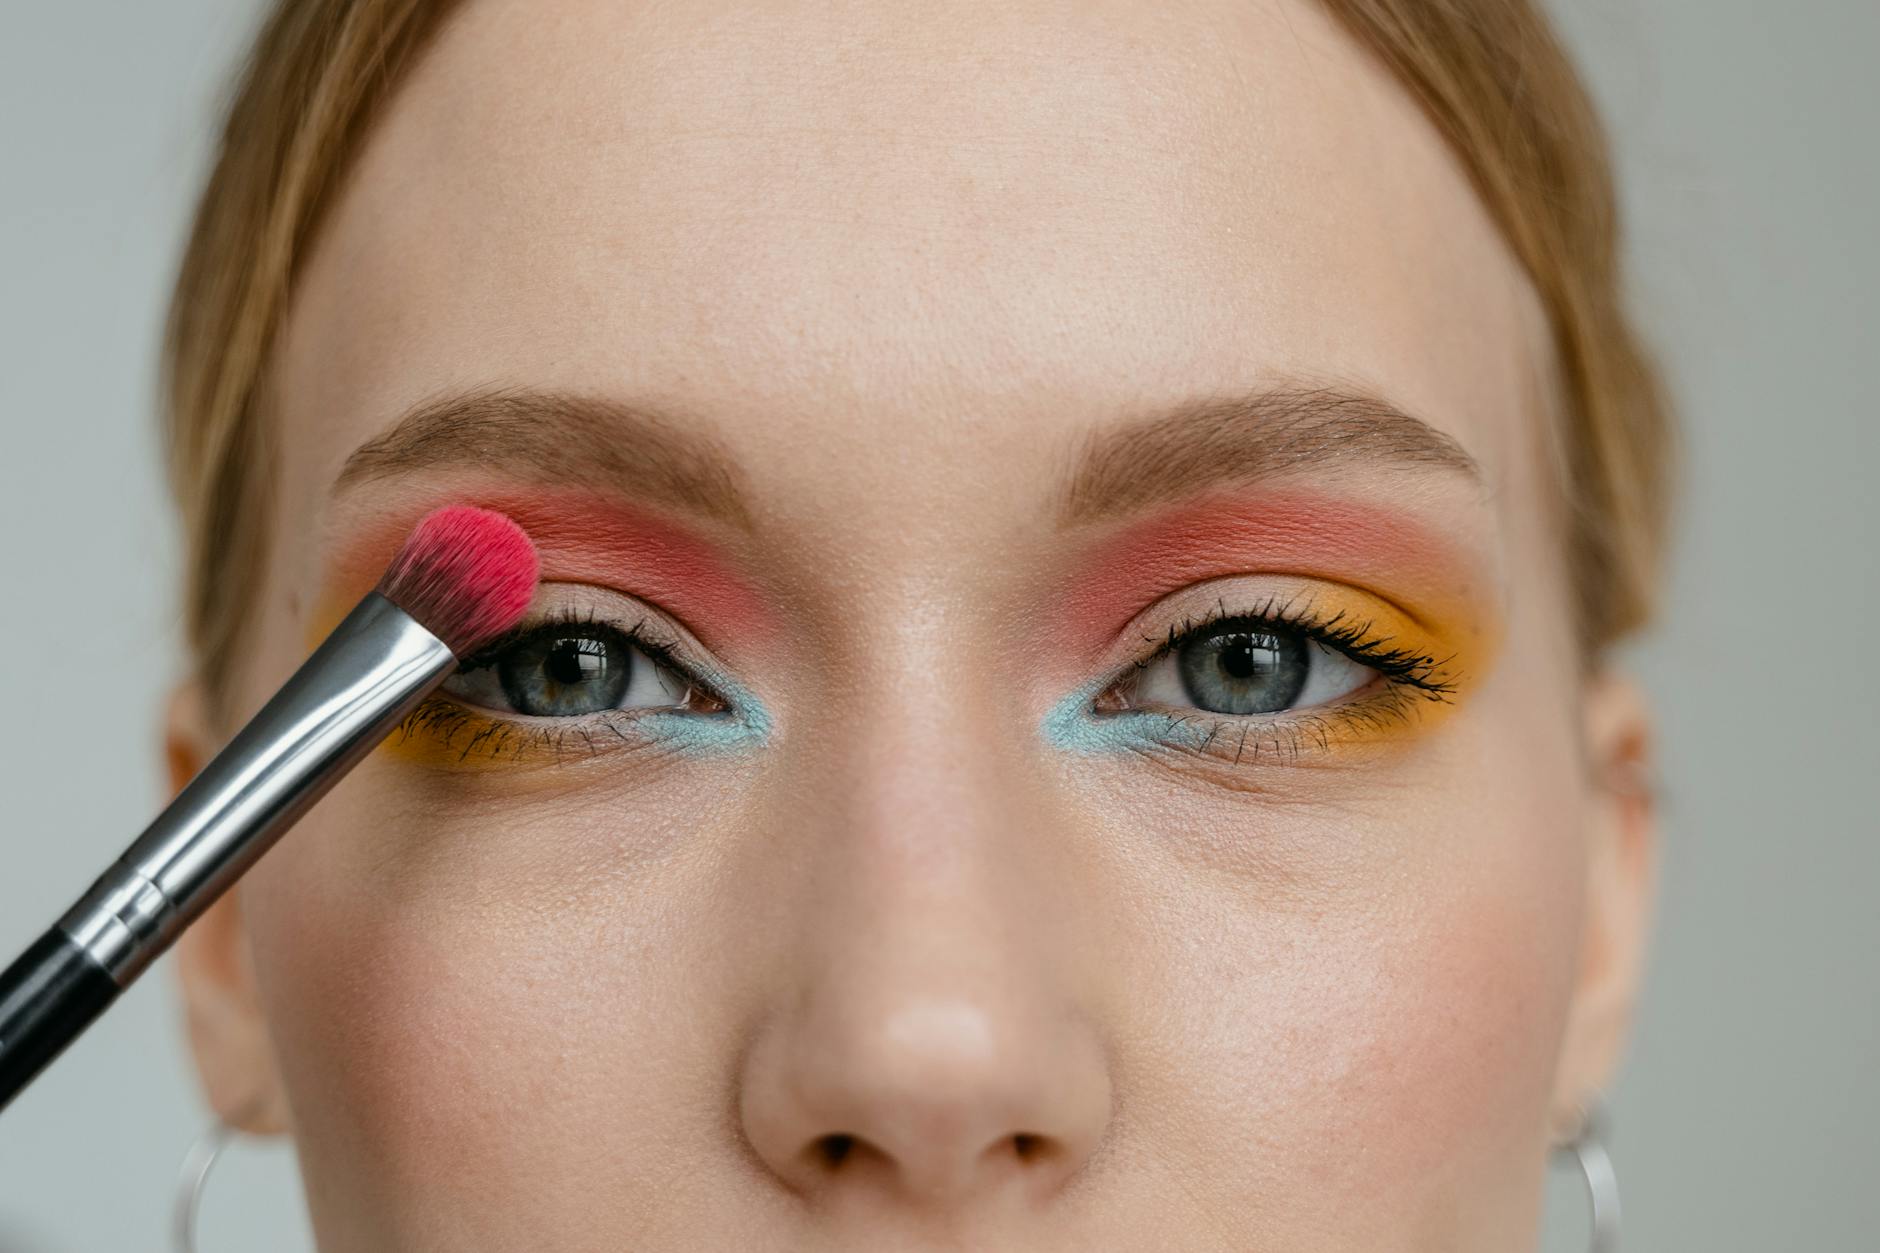
- Use apple placement for a soft and approachable flush.
- Use upper-apple placement for the most balanced everyday option.
- Use high cheekbone placement when you want a more lifted effect.
- Avoid taking strong color too close to the nose unless that is an intentional style choice.
How should you blend powder, cream, and liquid blush?
The placement can stay similar, but the blending method should match the formula. Powder works well with a soft brush, while cream and liquid blush are usually easiest to diffuse with fingers, a sponge, or a dense brush.
For powder blush, tap excess product from the brush before touching the cheek, then use light sweeping or circular motions. Start where you want the strongest color and blend outward with less pressure. If the result becomes too intense, a clean brush can help soften the edges.
For cream or liquid blush, apply a very small amount first because these formulas can spread quickly. Tap rather than drag the product across the skin, and work one cheek at a time if the formula sets quickly. If a product causes persistent irritation, swelling, itching, or an allergic reaction, stop using it and seek advice from a qualified dermatologist or other appropriate health professional.
Formula-specific blending
- Powder: use a fluffy blush brush and build in thin layers.
- Cream: tap into the skin with fingers, a sponge, or a compact brush.
- Liquid: start with one small dot and diffuse quickly before adding more.
- For every formula, keep the outer edges softer than the center of the blush.
How blush placement changes the look of an oval face
| Placement | Finished effect | How to blend |
|---|---|---|
| Apples of the cheeks | Soft, fresh, and rounded | Blend outward gently so the edges disappear without pulling the color too far toward the ears |
| Upper apples into cheekbones | Balanced and naturally defined | Start near the center of the cheek and diffuse diagonally upward |
| Higher on the cheekbones | More lifted and sculpted | Keep the strongest color above the apples and blend softly toward the temples |
People also ask
Makeup FAQ
What is the most flattering blush placement for an oval face?
A versatile starting point is the upper part of the apples blended outward along the cheekbones. It adds color without making the face look noticeably rounder or more elongated.
How high should blush go on an oval face?
For a lifted look, place the strongest color along the upper cheekbone and blend toward the temple. Keep the blend soft and stop before the blush reaches the hairline heavily.
Can you put blush directly on the apples of an oval face?
Yes. Blush on the apples creates a softer, fuller-looking flush. For a natural finish, avoid leaving the color as a concentrated circle and blend the edges gently outward.